Topic:
Setting up a Kuma Uptime Page on our Raspberry Pi 4B, and configuring it to be accessible from the internet using the same Cloudflare Tunnel we’ve set up in the previous part.
Docker Setup
First of all, we need to install Docker on our Raspberry Pi. The installation was quite straightforward, but keep in mind you should add your user to the docker group and preferably logout and login again to apply the changes.
Kuma Uptime Page
Kuma is a simple, modern, and beautiful uptime monitor. It’s open-source, and it’s perfect for our needs. We can easily set it up using Docker, and it’s also quite easy to configure.
Installation
To be honest, it might be one of the most straightforward installations I’ve ever done. We just need to run the following command:
docker run -d --restart=always -p 3001:3001 -v uptime-kuma:/app/data --name uptime-kuma louislam/uptime-kuma:1This command will pull the latest version of the louislam/uptime-kuma image from Docker Hub, and it will run it in a detached mode. We’re also mapping the container’s port 3001 to the raspi’s port 3001, and we’re mounting a volume named uptime-kuma to the container’s /app/data directory.
Configuration
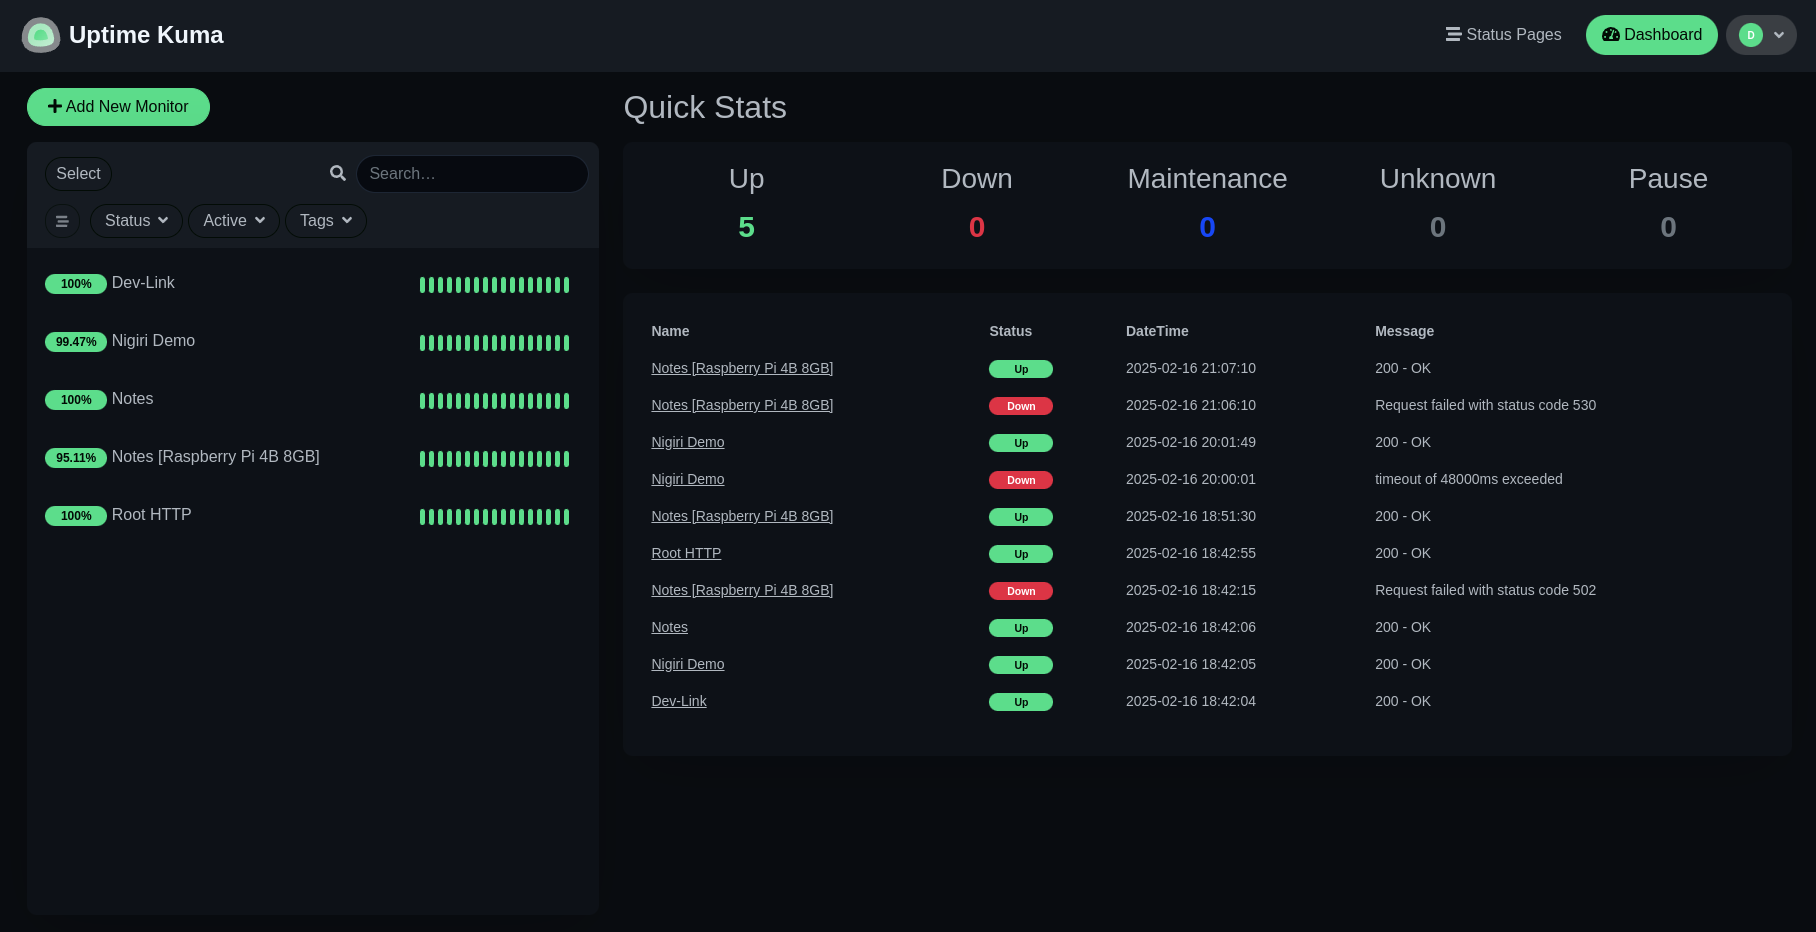
Monitors
After running the command, we should be able to access our Kuma Uptime Page by visiting http://localhost:3001 in our browser. The configuration is very simple, and is done through the web interface. Create an account, log in, and add your first monitor.
What is a monitor?
A monitor is a service that Kuma will check for uptime. You can add a monitor by providing a name, URL, and check interval. For example, you can add a monitor for
https://devnyxie.comthat will check every 5 minutes. If the URL is not reachable (HTTP status code is not from the 200 range), Kuma will notify you.
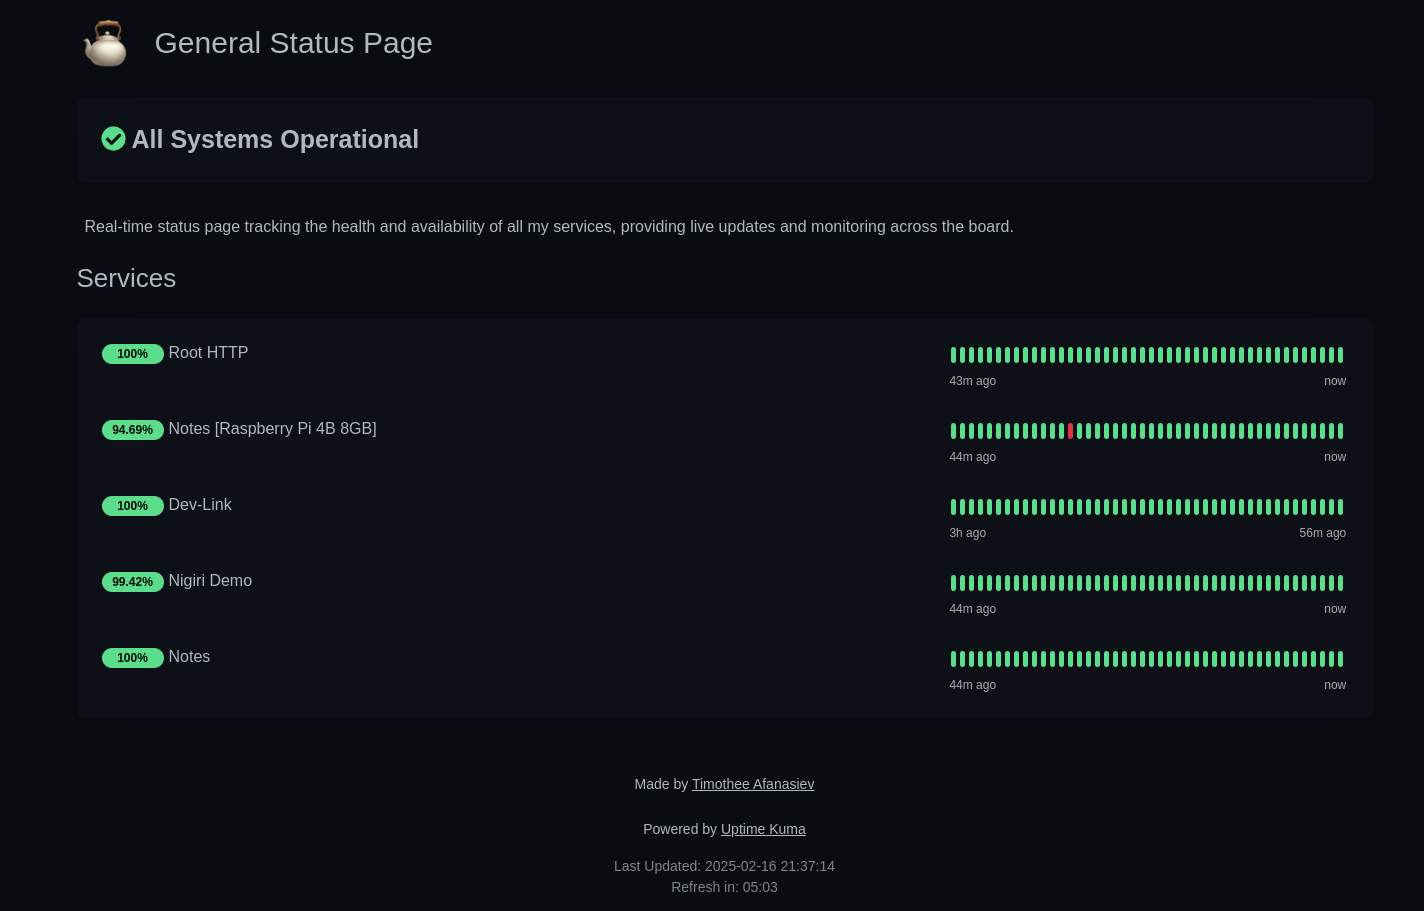
Status Page
After you have added your first monitor, you should create a public Status Page. Choose a path, e.g., status.devnyxie.com, and customize the page by adding a logo, a title, and a description if you want.
Mine looks like this:
Cloudflare Tunnel Configuration
Now that we have our Kuma Uptime Page running on our Raspberry Pi, we can configure our Cloudflare Tunnel to make it accessible from the internet. Since we’ve already set up the tunnel in the previous part, we just need to modify the ~/.cloudflared/config.yml file and restart the cloudflared service. :D
Here is the configuration we’ve stopped on in the previous part:
tunnel: demo-tunnel
credentials-file: /home/devnyxie/.cloudflared/18006ba-5dc2-0000-8111-c625b010169.json
ingress:

  - hostname: demo.devnyxie.com
    service: http://localhost:8080

  - service: http_status:404
Fortunately, we can add as many ingress rules as we want. We can add a new rule for our Kuma Uptime Page:
tunnel: demo-tunnel
credentials-file: /home/devnyxie/.cloudflared/18006ba-5dc2-0000-8111-c625b010169.json
ingress:

  - hostname: demo.devnyxie.com
    service: http://localhost:8080

  - hostname: status.devnyxie.com
    service: http://localhost:3001

  - service: http_status:404
After modifying the config file, we need to restart the cloudflared service:
sudo systemctl restart cloudflaredOr, if the service is running in the foreground, you can just restart the tunnel by pressing Ctrl+C and running the cloudflared tunnel run demo-tunnel command again.