Topic
Setting up a Raspberry Pi 4B, configuring Cloudflare Tunnel in order to avoid the original IPv4 approach and hosting a simple website on it.
Introduction
I’ve bought a Raspberry Pi 4b like a year ago, and I’ve always wanted to host something on it, but due to intense studies, work issues, ethernet providers not opening ports (khm khm Play) - I never got to it.
But now, I’ve finally managed to find some time for it, and I’ve decided share my journey with you.
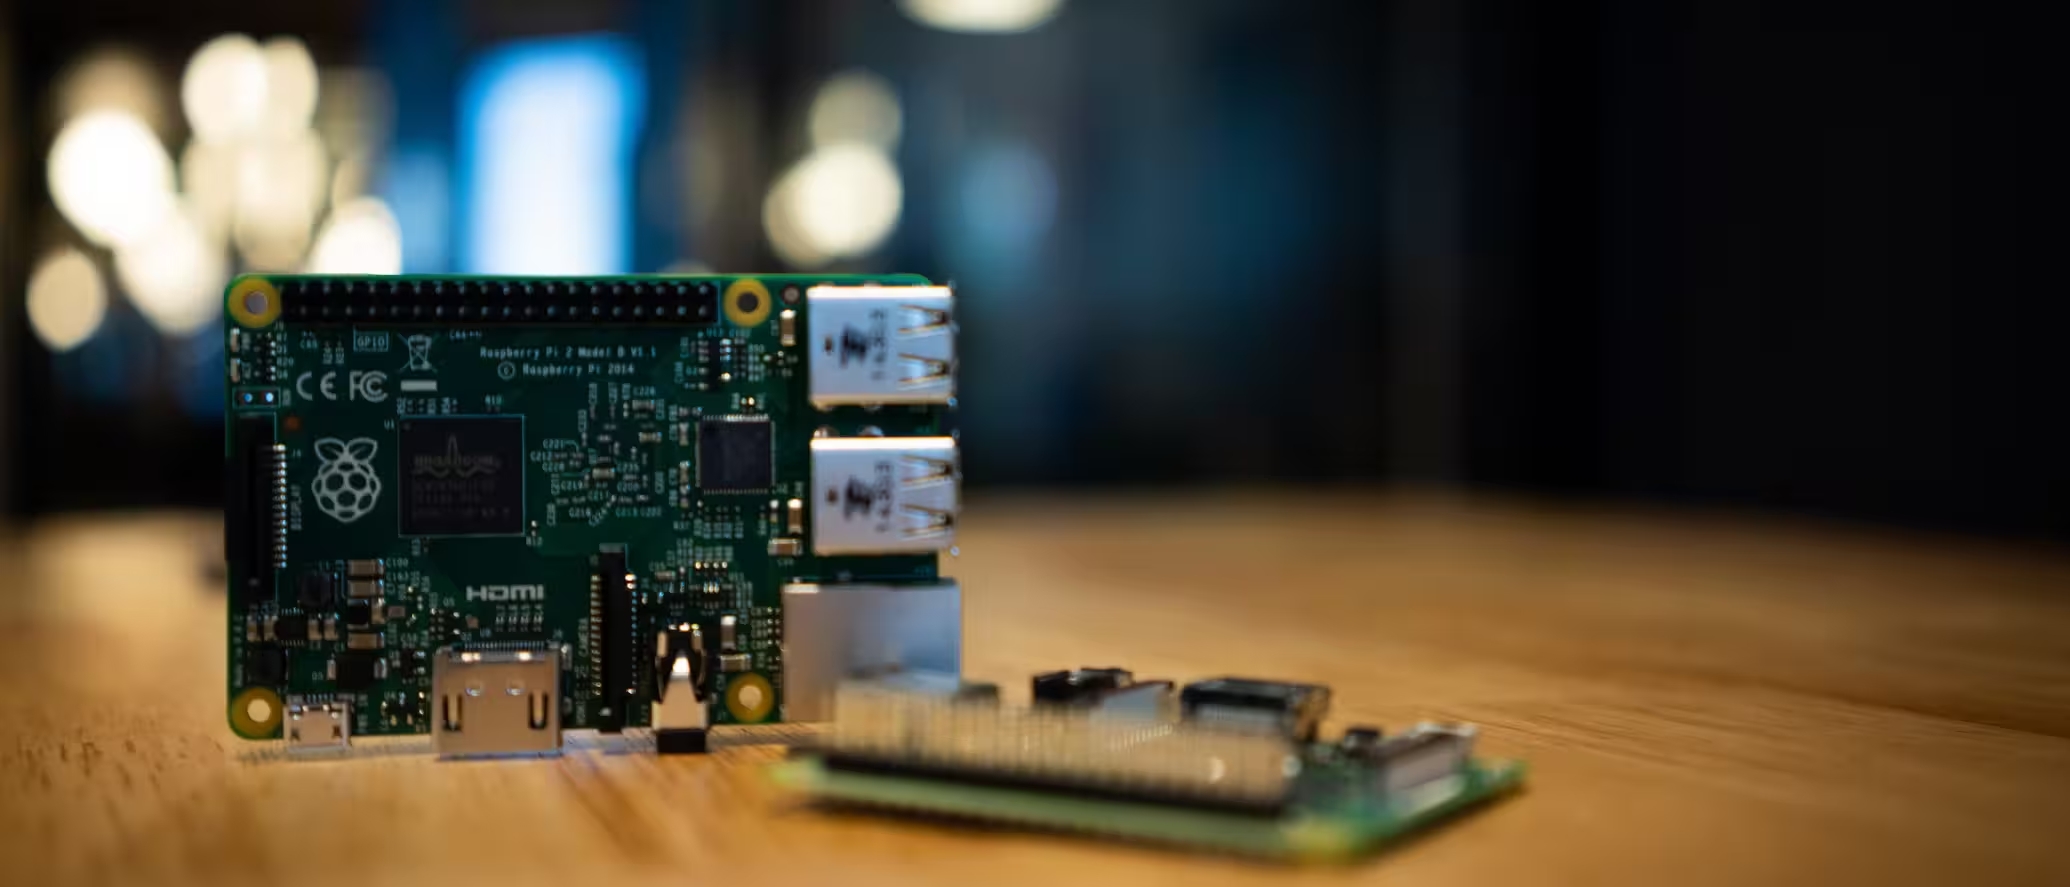
First of all, Raspberry Pi 4B is a great device for hosting small projects, and it’s not pricy at all. I’m using a 8GB RAM version, and it must be more than enough for our needs.
Our Raspberry Pi will be running off a 128GB SSD instead of a microSD card, because it’s faster and more reliable. From what I’ve read online, SD cards tend to wear out quickly when used as a primary storage device, and we surely don’t want that ☀️
Setting Up
First of all, we need to flash any Linux ISO on our SSD - in our case it’s Ubuntu Server. Right after, flash the Boot from USB firmware on our Raspberry Pi using a microSD card. This process was pretty straightforward, as I was following a YT guide. After that we should boot once using the microSD card in order to reconfigure the boot order to USB, turn the Pi off, remove the microSD card and boot again - this time using the connected SSD.
After you’ve successfully booted into your newly installed Ubuntu Server, you should see such welcome screen:
Welcome to Ubuntu 24.04.1 LTS (GNU/Linux 6.8.0-1010-raspi aarch64)

 * Documentation:  https://help.ubuntu.com
 * Management:     https://landscape.canonical.com
 * Support:        https://ubuntu.com/pro

 System information as of Mon Feb 10 01:00:10 CET 2025

  System load:           1.13
  Usage of /:            2.0% of 116.84GB
  Memory usage:          5%
  Swap usage:            0%
  Temperature:           60.4 C
  Processes:             156
  Users logged in:       0
Mine is kinda hot after an update, but I guess it’s normal (right?). We can install a fan later on, but for now let’s just hope it won’t burn out ✍️
Cloudflare Tunnel
Now, we need to install Cloudflare Tunnel on our Raspberry Pi. This will allow us to avoid the original IPv4 approach, and tunnel our traffic through Cloudflare’s network. This is a great way to protect our server from any cyber attacks, and it’s also a great way to avoid dealing with local ISPs.

Installation
First of all, we need to install the cloudflared package on our Raspberry Pi. We can do this by running the following commands:
Add Cloudflare’s public key:
sudo mkdir -p --mode=0755 /usr/share/keyrings
curl -fsSL https://pkg.cloudflare.com/cloudflare-main.gpg | sudo tee /usr/share/keyrings/cloudflare-main.gpg >/dev/null
Add Cloudflare’s repository to APT sources:
echo 'deb [signed-by=/usr/share/keyrings/cloudflare-main.gpg] https://pkg.cloudflare.com/cloudflared noble main' | sudo tee /etc/apt/sources.list.d/cloudflared.listUpdate the package list and install cloudflared:
sudo apt-get update && sudo apt-get install cloudflaredAfter you’ve successfully installed cloudflared, the following command should work:
cloudflared --version🔗 Distro specific instructions can be found here.
Tunnel Configuration
First, let’s authenticate our Raspberry Pi with Cloudflare. We can do this by running the following command:
cloudflared tunnel loginInfo
If you running your OS headless just as me, just open the URL it will provide you with on any other device, authenticate and choose the domain you want to use for your tunnel.
After you’ve successfully authenticated your Raspberry Pi, you should be able to create a new tunnel using the following command:
cloudflared tunnel create demo-tunnelOutput:
Tunnel credentials written to /home/devnyxie/.cloudflared/18006ba-5dc2-0000-8111-c625b010169.json. cloudflared chose this file based on where your origin certificate was found. Keep this file secret. To revoke these credentials, delete the tunnel.

Created tunnel demo-tunnel with id 18006ba-5dc2-0000-8111-c625b010169
Keep in mind your tunnel ID from the output above. cloudflared config file:
nano ~/.cloudflared/config.ymlAdd or modify the following lines:
url: http://localhost:8080 # port of your local server
tunnel: <Tunnel-UUID> # tunnel ID
credentials-file: /root/.cloudflared/<Tunnel-UUID>.json
In my case it’s:
url: http://localhost:8080
tunnel: 18006ba-5dc2-0000-8111-c625b010169
credentials-file: /home/devnyxie/.cloudflared/18006ba-5dc2-0000-8111-c625b010169.json
Finally, we should add a CNAME record to our Cloudflare DNS settings. This will allow us to access our Raspberry Pi using a custom domain. In my case, I’ve added a CNAME record for demo.devnyxie.com pointing to the tunnel domain, which is 18006ba-5dc2-0000-8111-c625b010169.cfargotunnel.com.
I’m sure you can do this with the following command:
cloudflared tunnel route dns #<UUID> #<HOSTNAME>
# Example:
# cloudflared tunnel route dns 18006ba-5dc2-0000-8111-c625b010169 demo.devnyxie.com
Running the Tunnel
After you’ve successfully configured your tunnel, you should be able to run it using the following command:
cloudflared tunnel run demo-tunnelIf everything is configured correctly, you should see your tunnel running! 🚀
Hosting Something
Now, we need to host something on our Raspberry Pi. I’ve decided to host my notes webapp, but you can choose anything you want.
For example, we can host a simple web server using JavaScript:
# install nodejs and npm
sudo apt-get install nodejs npm
# install serve package in order to host a simple web server
npm install -g serve
Create a file with our server code:
# server.js
const express = require('express');
const app = express();
const port = 8080;

app.get('/', (req, res) => {
  res.send('Hello, world!');
});

app.listen(port, () => {
  console.log(`Server is running on http://localhost:${port}`);
});
Run the server and the tunnel:
node server.js & cloudflared tunnel run demo-tunnelNow, you should be able to access your Raspberry Pi using your custom domain! Good work friend! ☀️
